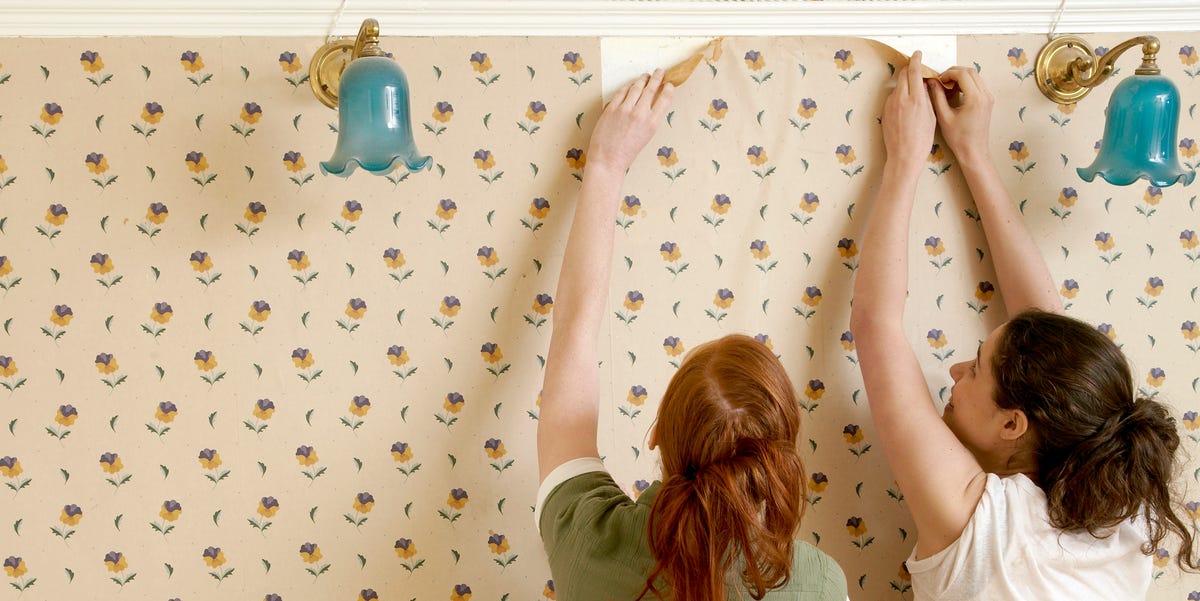
Removing wallpaper is a tedious task that many homeowners have to deal with. Trying to tackle it yourself can be tempting, but if done incorrectly, it can result in a mess that’s too much to handle. Follow these simple steps on how to remove wallpaper in a breeze.
Step 1: Gather the Necessary Supplies
Before attempting to remove your wallpaper, make sure you have all the necessary items you’ll need. This should include a wall covering stripper, a steamer or chemical wallcovering remover, a bucket and sponge, an angled scraper, a sponge, sandpaper, and a vacuum. Also, ensure you have safety glasses and gloves to protect yourself from any hazardous chemicals in the stripper or remover.
It is also important to have a drop cloth or plastic sheeting to protect your floors and furniture from any mess that may occur during the removal process. Additionally, you should have a ladder or step stool on hand to help you reach higher areas of the wall. Finally, ensure you have plenty of rags and paper towels to help clean up. This is the first step on the list of how to remove wallpaper.
Step 2: Preparing the Wall for Removal
Once you have all your supplies ready, start by cleaning the wall surface. Remove any dirt or dust buildup with a vacuum cleaner. Doing this will help ensure that any steamer you use won’t cause any damage. Also, ensure the surface is completely dry before moving on to the next step.
Once the wall is clean and dry, you can remove the wallpaper. Start by using a putty knife to scrape away any loose pieces. If the wall covering is particularly stubborn, you may need to use a steamer to loosen it up. Be sure to follow all the instructions on the steamer to avoid any damage to the wall.
Step 3: Removing the Wallpaper
Once you’ve gathered your supplies and ensured the wall is completely cleaned and dry, you’re ready to remove the wallpaper. The method you use depends on the type of wall covering you’re dealing with: if it’s vinyl, use a steamer or chemical wallcovering remover; if it’s paper-backed or painted-over, use the scraper. Start at the top and also work your way down, making sure to go slowly and securely bevel the edges to minimize tearing.
Step 4: Cleaning the Surface
Once all the wallpaper has been removed, it’s important to clean the wall surface. Wipe it down with a damp cloth or sponge. This will help remove any remaining glue or paint the stripper or remover may have left behind. Once this is done, use sandpaper to smooth out any uneven surfaces.
Step 5: Installing a New Wallpaper
Now that the wall has been cleaned and prepared, it’s time to install your new wallpaper. Make sure you follow all manufacturer instructions carefully when doing so. Before applying the wall covering paste on the wall, you’ll want to familiarize yourself with how to apply it correctly, which can depend on the material used for your wallpaper.
Step 6: Caring for Your New Wallpaper
When caring for your new wallpaper, inspect it regularly for signs of wear and tear. Depending on the type of wallpaper you installed, you may only need to occasionally dust or mop the walls. If your wall covering is a more delicate material, however, you’ll want to consider using special care products to keep your walls looking new for years to come.
Step 7: Finishing Touches
Now you can finish with any final touches you want to add, such as trim around the edges, paint accents, or stencils. You can also add other small decorative elements or knick-knacks that help tie in your interior design theme. Wallpapers are best alternative to pallet wood wall,
Helpful Tips for Removing Wallpaper
If removing old wall covering and steaming is not an option, try pre-soaking or scoring (or both) before scraping with a wallpaper scraper. Pre-soaking helps soften the paper layers and makes them easier to lift off. Scoring also loosens paper layers, allowing water to penetrate through them and making them easier to remove. Pre-soaking also helps reduce damage to walls since it’s less aggressive than using a scrapper.
Troubleshooting Common Issues with Wallpaper Removal
If you’re having difficulty removing wall covering from the walls, several troubleshooting steps may help. First, inspect any remaining paper layers for signs of vinyl. If so, use a chemical wall-covering remover rather than steaming. Other times, additional scraping may be needed because paper layers build up over time, making it difficult to remove separate layers. Be sure to use caution when doing this to not damage the wall surface.
You may also want to consider seeing some tall wall decor ideas.


