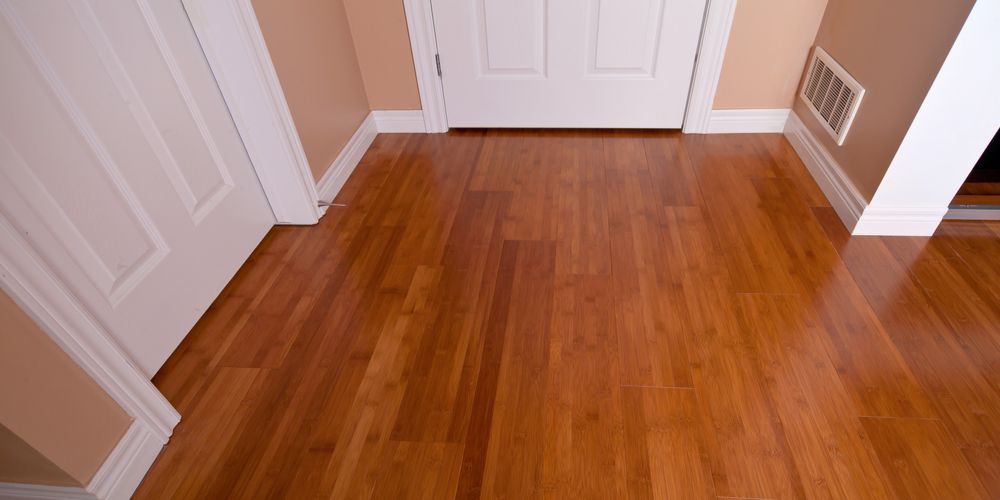
Hardwood floors are a popular choice for people around the world. They use this in their house because it looks great and goes well with the furniture. They are also easy to install, and we will tell you how to do them easily. In this article, we will guide you on how to install hardwood floors in your home.
Engineered Wood vs. Solid Wood Flooring
When it comes to solid wood flooring, homeowners often have to decide between engineered and solid wood. Both options have their pros and cons, so it is important to consider the factors that are most important to you before making a decision.
Solid wood as is made from a single piece of wood and is known for its durability and longevity an example for this is linoleum. It can be sanded and refinished multiple times, which makes it a good option for homes with high traffic or where floors may sustain scratches or dents over time. However, solid wood flooring can be sensitive to humidity and moisture, which can cause it to expand, warp, or buckle. It is also typically more expensive than engineered wood flooring.
Engineered wood flooring, on the other hand, is made from multiple layers of wood with a top layer of solid wood veneer. It is more resistant to moisture and humidity than solid wood flooring, which makes it a good option for areas like basements, bathrooms, or kitchens. It is also typically less expensive than solid wood and can be installed over concrete subfloors. However, engineered wood can only be sanded and refinished a limited number of times, which may limit its longevity. Ultimately, the choice between engineered and solid wood will depend on your budget, style preferences, and the specific needs of your home.
How to Install Hardwood Floors?
:max_bytes(150000):strip_icc()/installing-hardwood-floor-170040982-582b748c5f9b58d5b17d0c58.jpg)
Below you will find a method to DIY your floor:
Choose the Right Type of Solid wood
When choosing solid wood, consider the level of foot traffic in the area where you plan to install it. Some solid wood species, such as oak and maple, are more durable and suitable for high-traffic areas, while others, like cherry or walnut, may be better suited for low-traffic areas like bedrooms.
Another factor to consider is the color and finish of the hardwood. Please choose a color and finish that complements your home’s decor and enhances its overall aesthetic appeal. Popular finishes include matte, semi-gloss, and high-gloss, each of which has its own unique look and feel.
Also you should consider the thickness & width of the solid wood.
It is also essential to consider the type of installation method you plan to use. There are several options, including glue-down, nail-down, and floating, each of which has its own pros and cons. Be sure to research each option and choose the one that best suits your specific needs and skill level.
Finally, you should consider your budget, You find in the following article information about the total cost of floor installation.
Gather the Necessary Tools and Materials

It is crucial to ensure that you have all the tools and materials required before starting the installation process to avoid delays and inconveniences. The circular saw is essential for cutting the solid wood to the desired lengths, while the jigsaw is necessary for cutting curves and corners. The miter saw is helpful in making precise angled cuts, while the drill is necessary for making pilot holes for nails and screws.
A pry bar and rubber mallet are essential for removing the existing flooring and aligning the solid wood planks during installation. The flooring stapler and nails are crucial for securing the planks to the subfloor, while the underlayment and moisture barrier provides support and protection for the solid wood. Having all the necessary tools and materials ready before starting the installation process will save you time and ensure a smoother and more efficient installation process.
Preparing for Installation
Before you begin installing your solid wood floors, you need to prepare your room. You will need to remove any existing flooring, baseboards, and trim. This will provide you with a clean, level surface to work on. You should also make sure that your subfloor is in good condition and free of any debris.
Once you have removed the existing flooring and inspected the subfloor, you will need to measure the room to determine the amount of hardwood you will need. It is a good idea to add 10% to your measurements to allow for any waste or mistakes.
Acclimating the Hardwood
Acclimating the hardwood is a critical step to ensure a successful installation. Typically, solid wood flooring needs to acclimate for at least two to three days, but it can vary depending on the manufacturer’s recommendations and the climate of the room.
Be sure to read the manufacturer’s instructions carefully and follow their recommendations to ensure the best results. During this time, it is crucial to keep the room at a consistent temperature and humidity level to prevent any issues with the flooring later on.
Install the Underlayment and Moisture Barrier
Roll it out across the subfloor to install the underlayment and cut it to size with a utility knife. Make sure to overlap the seams of the underlayment by at least six inches to ensure proper coverage. Then, install the moisture barrier by laying it out in a similar fashion and overlapping the seams. Use a staple gun to secure both the underlayment and moisture barrier in place.
Measure and Cut the Hardwood Floor
When measuring and cutting the solid wood floor, it is essential to consider any angles or corners in the room. You may need to make some angled cuts to ensure the planks fit correctly. It is essential to leave a small gap around the edges of the room to allow for the expansion and contraction of the wood.
When making the cuts, make sure to wear protective gear such as safety goggles and earplugs. Use a straight edge to guide the saw and make clean, precise cuts. Take your time and measure twice to avoid making mistakes that could result in wasted wood or uneven planks. Once you have cut all the planks to size, lay them out on the floor to ensure they fit together correctly and make any necessary adjustments before moving on to the next step.
Installing the Hardwood

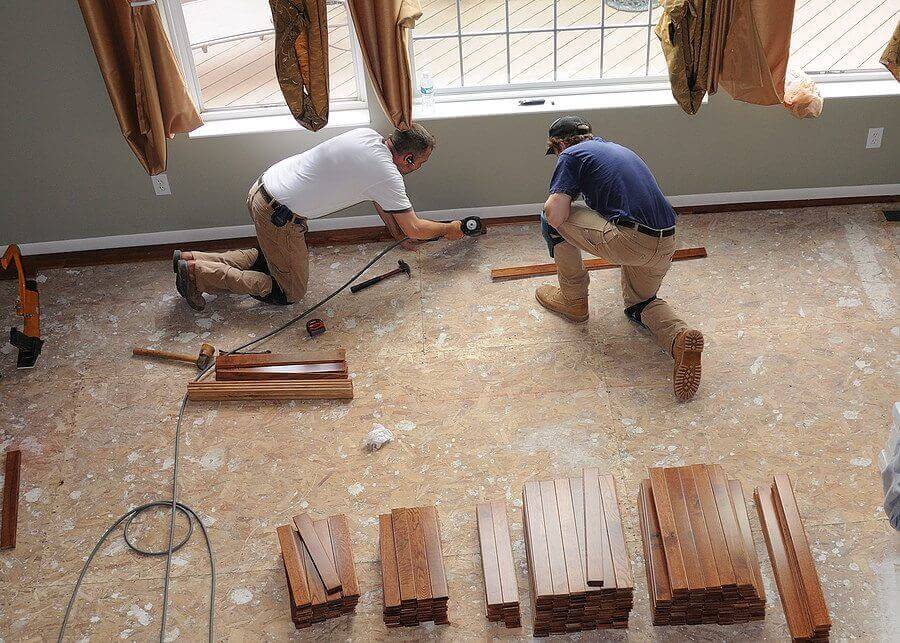
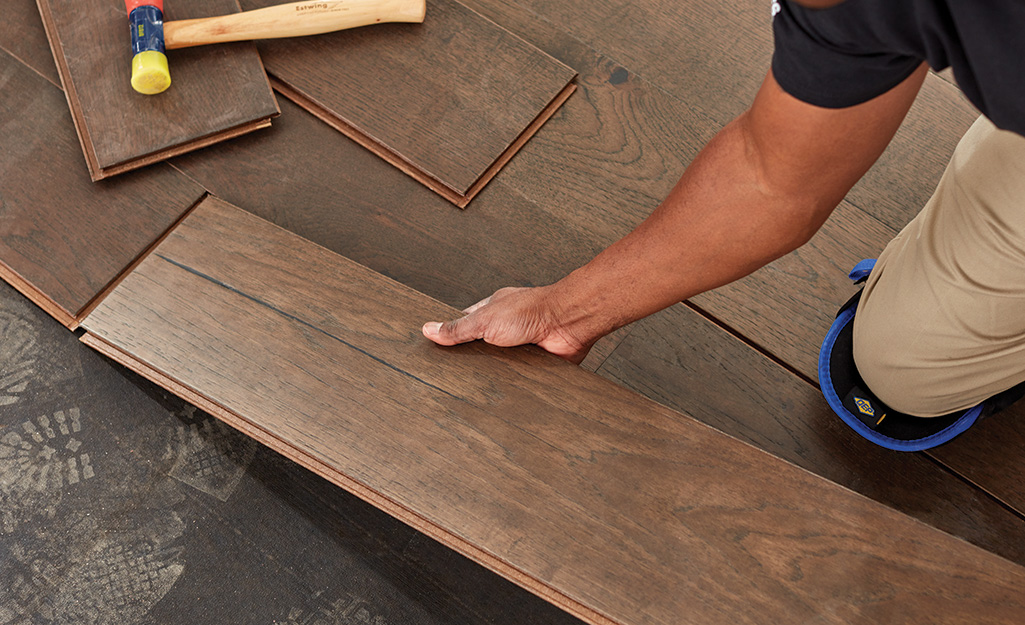
Once your solid wood flooring has acclimated, you can begin installing it. You will need to start by laying down a vapor barrier to protect your hardwood floors from moisture. Next, you will need to lay down the first row of solid wood flooring, making sure that it is straight and level. You can use a chalk line to mark the location of each row.
As you install each row of hardwood flooring, you will need to use a flooring nailer to attach the planks to the subfloor. You can also use a pneumatic stapler or adhesive if you prefer. You will need to make sure that each row is tightly secured before moving on to the next row.
Install Baseboards and Trim
Once the hardwood floor is installed, it is time to install the baseboards and trim. Use a pry bar to remove the existing baseboards and cut new ones to fit. Nail the baseboards and trim into place, ensuring that they are flush with the hardwood floor.
Finishing the Hardwood Flooring
Once you have installed your hardwood floorings, you must finish them. This involves sanding the floors to remove any rough spots or imperfections and then applying a protective finish to the wood. You can choose from a variety of finishes, including oil-based finishes, water-based finishes, and wax finishes. It is essential to follow the manufacturer’s instructions when applying the finish to ensure that it is applied correctly. You may need to apply several coats of finish, depending on the type of finish you choose.
Benefits of Hardwood Flooring
Hardwood offers numerous benefits that make it a popular choice among homeowners. One of the main benefits is its durability and longevity. Solid wood floors can last for decades with proper maintenance and care, making them a long-term investment for your home.
Hardwood flooring is also easy to maintain and clean. It only requires sweeping or vacuuming and occasional mopping with a hardwood floor cleaner. It is also a hypoallergenic flooring option, as it does not trap dust, pollen, or other allergens like carpet does. In addition, solid wood flooring is versatile and can complement any home decor style, from modern to traditional. It also adds value to your home, as it is a desirable feature for potential buyers.
Solid wood flooring is also a sustainable option. It is made from renewable resources and can be recycled or repurposed at the end of its life. And because it does not require the use of harsh chemicals or adhesives during installation. It is also an eco-friendly flooring choice. Overall, solid wood flooring offers numerous benefits, making it an excellent investment for any home. This last step ends the question of how to install hardwood floors?
Conclusion
Installing solid wood flooring can be a daunting task, but with the right tools, materials, and knowledge, it can be a rewarding and cost-effective home improvement project. Remember to choose the right type of hardwood for your home, acclimate the wood to the room, install the underlayment and moisture barrier, measure and cut the planks, and finally, install the hardwood planks using a flooring stapler or nails. This article was about how to install hardwood floors, with proper installation and maintenance, solid wood floors can add value, beauty, and warmth to your home for years to come.


