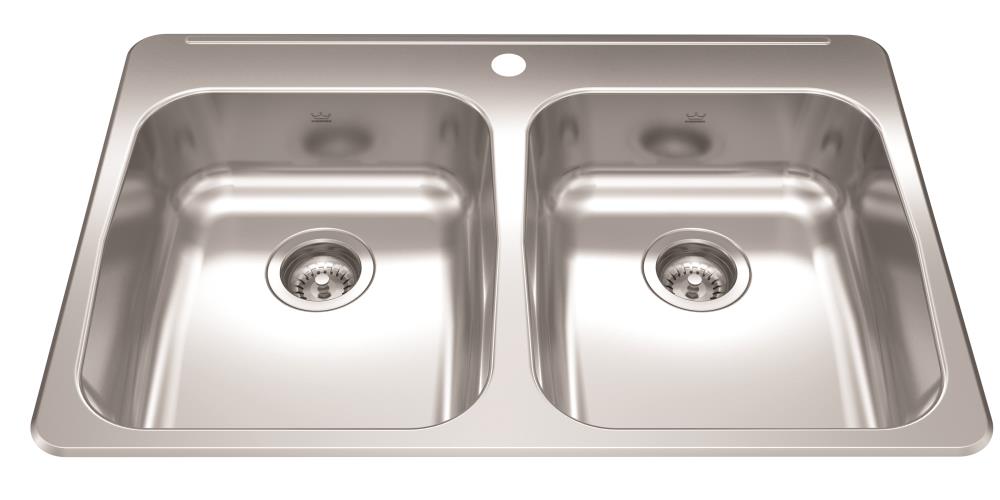
The kitchen is among the most important parts of a house, as eating is one of the essential parts of life. In this section of the house, you prepare food and clean your dishes. However, the problem occurs when the sink isn’t working. You must change it as soon as possible, or you won’t be able to clean the utensils. If you do not know how to do it, you will need to take help from experts. In this blog, we will show you how to install a kitchen sink drain by yourself in a few easy steps. So, read this article to learn all about it.
Drain Installation Process
Below you will find an easy and thorough method of installation, it’s easy and safe, and you don’t need to hire some professional to do this job. Read below to learn more about it.
· Gather the necessary tools and materials
Before you begin, you’ll need to gather some tools and materials. It is important to have all the necessary materials or tools; otherwise, your work won’t be done effectively. You can purchase all the stuff from any hardware store near you. You’ll need a pair of pliers, a screwdriver, a plumber’s putty or silicone caulk, a drain assembly kit, and a wrench. So, purchase all of these tools and move to the next step.
· Remove the Old One
Start by removing the old one already installed. You can do this by loosening the locknut on the bottom of the sink and then unscrewing the drain assembly from the basin.
· Clean The Sink And Drainage
Clean the sink and drainage thoroughly to ensure that there is no debris or old putty left behind. You must ensure that everything is thoroughly clean before you move to the next step in the process.
· Apply Plumber’s Putty or Silicone Caulk
Apply a small amount of plumber’s putty or silicone caulk around the opening. This will help to create a watertight seal between the basin and the drain.
· Install the New One
Install the new drainage assembly by inserting it into the opening and tightening the locknut underneath the basin. Use pliers and a wrench to tighten the locknut securely.
· Connect the Tailpiece
Connect the tailpiece to the drain assembly and tighten it with a wrench.
· Install the strainer
Install the strainer by placing it into the opening and tightening it with a screwdriver.
· Test for leaks
Once the installation is complete, turn on the water and test for leaks. If there are any types of leaks, tighten the connections or apply more putty or caulk.
By following these simple and easy steps, you can easily install it and have your sink working efficiently in no time.
Conclusion
It might look like a difficult task, but it is a very easy and simple one and is a critical task in the process of kitchen remodeling. You can do this job easily in a few simple steps. If you read the steps above, you will understand that the process is easy and simple. Just read the instruction, and install the kitchen sink drain yourself. Save money and spend it somewhere else.

