If you are looking to add some character and warmth to your home without breaking the bank, the faux wood beam are a great option. Not only are they more affordable than real timbers, but they’re also easier to install and maintain. In this article, we will take you through the process of installing these pillars in your home by yourself.
What is Faux Wood Beam?
They are made from high-density polyurethane foam or molded plastic that’s been designed to look like real wood. They’re available in a variety of styles and finishes, including rustic, distressed, and smooth, and can be stained or painted to match your existing decor. They are lightweight and easy to handle, making them an ideal DIY project for homeowners.
Why Install Them?

There are several benefits to installing them in your home:
Cost-Effective
They are an affordable alternative to real wood timbers, offering a cost-effective solution for homeowners who want the look of wood without the high price tag. They are made from a variety of materials, such as high-density foam, polyurethane, or PVC, which can be manufactured to mimic the texture and appearance of real logs. This makes them a versatile option for adding character and warmth to any room in your home without breaking the bank. With a variety of styles and finishes to choose from, faux wood timbers are a cost-effective way to enhance the aesthetic appeal of your home.
Easy to Install
One of the benefits of these is that they are lightweight and easy to install, making them a manageable DIY project for a single person. Unlike real timbers, which can be heavy and require multiple people to install, they are made from lightweight materials such as foam or PVC. This means that they can be easily lifted and positioned, making the installation process faster and more straightforward. With the right tools and some basic DIY skills, homeowners can install faux wood timbers in just a few hours, transforming the look and feel of a room without the need for professional help.
Low Maintenance
Another advantage of faux wood supports is that they require very little maintenance compared to real wood beams. Real beams often require regular sanding, staining, or sealing to maintain their appearance and prevent damage from moisture or pests. Faux wood timbers, on the other hand, are made from materials that are naturally resistant to moisture and pests and don’t require any additional treatments or upkeep. This makes them a low-maintenance option for homeowners who want the look of wood without the added hassle of ongoing maintenance. With faux wood supports, you can enjoy the beauty of wood without the extra work.
Stylish
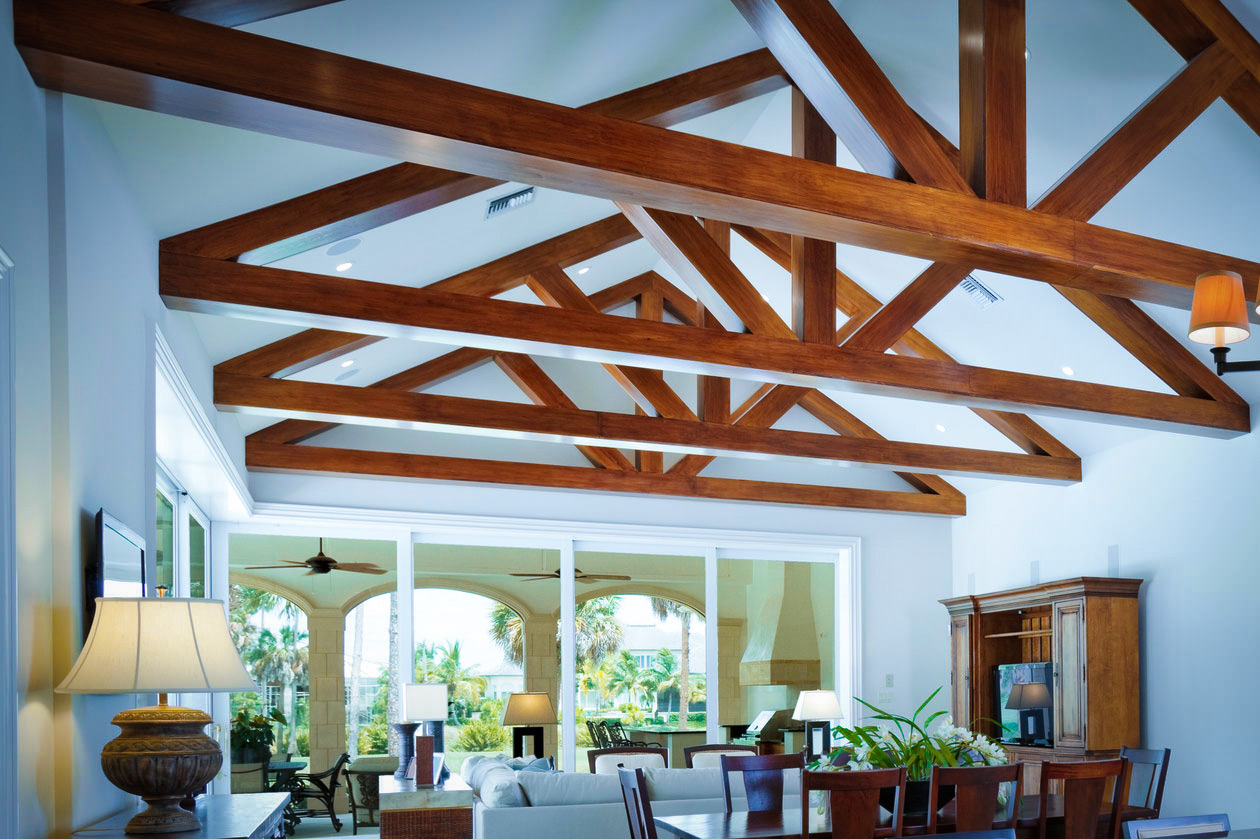
They are not only practical, but they can also add a touch of style and sophistication to any room in your home. They come in a range of styles and finishes, including rustic, distressed, and smooth, allowing you to choose a look that complements your existing decor. Faux wood supports can be used to create a variety of design elements, such as vaulted ceilings, exposed timbers, or decorative trusses, adding character and warmth to your living spaces. With their versatility and aesthetic appeal, they can be a stylish addition to any home specially when added to a good looking floor.
Tools and Materials Needed
Before starting, you’ll need to gather the following tools and materials:
- Faux Beams
- Measuring tape
- Saw
- Screws or nails
- Ladder
- Caulk
- Paint or stain (if desired)
Step-by-Step Guide to Installing Faux Wood Beam

Measure and Mark the Ceiling
Measuring and marking the ceiling is an important step in installing faux wood timbers. It ensures proper alignment and spacing of the supports. Take your time with this step to ensure accuracy and precision in your measurements and markings. It’s also important to consider the layout of your room and any existing fixtures or obstacles that may affect the placement of the supports. Once you have the ceiling measurements and markings in place, you can move on to the next step of cutting the timbers to size.
Cut the Beams to Size
Cutting the faux these supports to size is an essential part of the installation process. Before cutting, make sure you have measured and marked the ceiling correctly. Determine the appropriate length and width for each timber. Use a saw that is suitable for cutting the material, such as a circular saw or a handsaw.
It’s important to wear safety goggles and a mask to protect yourself from dust. This cutting can also create a lot of debris. Take your time with this step and ensure that the cuts are straight and even to achieve a professional-looking finish. Once you have cut all the supports to size, you can move on to the next step of attaching them to the ceiling.
Install the First Beam
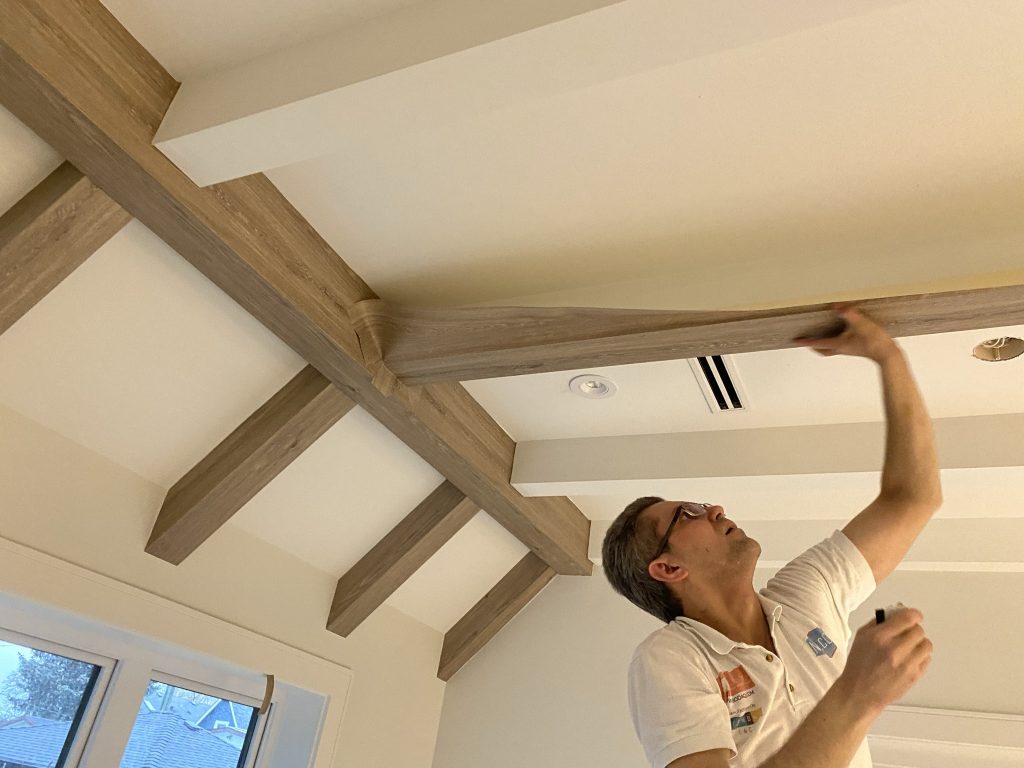
Installing the first beam is a critical step in the process, as it sets the tone for the entire installation. Begin by placing the faux wood beam in the center of the ceiling and checking that it is level. Use a level to ensure accuracy and adjust the position of the timber as necessary.
Once you are satisfied with the placement, use screws or nails to attach the beam to the ceiling. It’s important to drive the fasteners into the ceiling joists for a secure hold. This will ensure that the support stays in place over time. Take care not to overdrive the screws or nails, as this can cause the timber to split or crack. Once the first beam is securely installed, you can move on to the next step of installing the remaining supports.
Install the Remaining Beams
After installing the first support, you can move on to installing the remaining timbers. Space them evenly and keep them level by using a level to check their positioning. If you’re installing multiple beams in a row, it’s recommended to use a chalk line to ensure they’re all level with each other. This will also create a professional and cohesive look for your installation.
Once you have positioned the supports correctly, attach them to the ceiling with screws or nails. You also need to ensure that they are securely fastened to the ceiling joists. Take your time with this step to ensure that the beams are properly aligned and spaced, as any mistakes can be difficult to correct later on. When all the timbers are installed, you can move on to the final step of finishing the installation.
Cover the Seams
Covering the seams between the supports and the ceiling or walls is an important final step in the installation process. Use a high-quality caulk that is appropriate for the material of the beams and the surface you are applying it to. Apply a generous amount of caulk to the seams, making sure to fill any gaps or cracks. Use a finger or a caulk smoothing tool to smooth out the caulk and create a clean, finished look.
Take your time with this step to ensure that the caulk is applied evenly and also neatly. As any mistakes can be difficult to correct later on. Once the caulk has dried, you can sit back and admire your newly installed faux supports. This will add warmth and character to any room in your home.
Paint or Stain the Beams (Optional)
After installing and caulking the faux supports, you may choose to paint or stain them to match your existing decor. It’s important to follow the manufacturer’s instructions when applying paint or stain, as different products may require different application methods. For example, some stains may require multiple coats or may need to be applied with a specific type of brush or applicator.
When painting or staining, make sure to protect surrounding surfaces. Also protect furniture with drop cloths or plastic sheeting to prevent any accidental spills or splatters. Take your time with this step to ensure that the finish is even and consistent. Be sure to let the paint or stain dry completely before removing any protective coverings or moving furniture back into the room.
Tips for Installing Faux Wood Beam

- Be sure to wear safety goggles and a mask when cutting the faux wood supports to protect yourself from dust.
- If you’re installing the timbers on a textured ceiling, consider using longer screws or nails to ensure a secure hold.
- If you’re installing the supports on a sloped ceiling, you may need to adjust the angle of the cuts to ensure a proper fit.
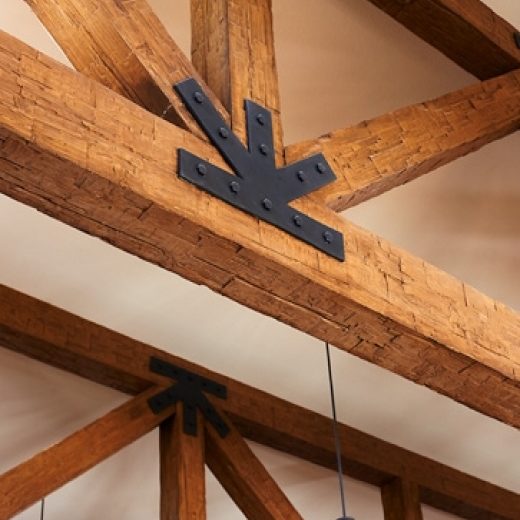
- To create a more authentic look, consider adding faux wood corbels or brackets to the timbers.
Conclusion
Faux wood supports are a stylish and affordable way to add character and warmth to any room in your home. With their ease of installation and low maintenance, they’re a great DIY project for homeowners on a budget. By following our step-by-step guide and using the right tools and materials, you can also install faux wood supports in your home and enjoy the stylish and inviting atmosphere they create.


