Why and how to install solar panels on roof? Going solar is an excellent way to save on energy bills and contribute to the environment. Solar panel installation on your rooftop is a great way to utilize most of your space at the top and harness the sun’s energy to power your home. This guide will help you understand how to install PV panels and also what you can expect.
Step-By-Step Guide: Installing Solar Panels on Your Roof
People are confuse mostly about one thing that is it legal to install your own solar panels? Yes its legal, below we have discussed how to install solar panels on roof:
Step 1: Assessment of Your Roof
First of all, in installing PVs on your rooftop is to assess your roof’s condition and suitability for PVs. This will help you determine the right type of PV plates and the right size of the solar panel system to meet your energy needs. It would help if you also considered factors such as the orientation of your rooftop, the slope of the rooftop, and the amount of sunlight your rooftop receives.
Step 2: Obtaining the Necessary Permits
Once you’ve assessed your rooftop and decided on the type and size of the PV panel system you need, the next thing is to get the important permits and approvals from local authorities. This can include building permits, electrical permits, and other permits required by local regulations.
Step 3: Hiring a Solar Installer
Once you’ve obtained the necessary permits, it’s time to hire a professional PV installer to install the PV panels on your rooftop. This is an important part as installing Photovoltaic plates is a complex and also technical process, and it’s important to ensure that it’s done correctly and safely.
Step 4: Preparing the Roof
Before the PVs can be installed, your rooftop will need to be prepared. This may include removing existing roofing materials, installing solar roof vents, repairing damaged areas, and also ensuring that the ceiling is strong to support the weight of the PVs.
Step 5: Mounting the Solar Panels
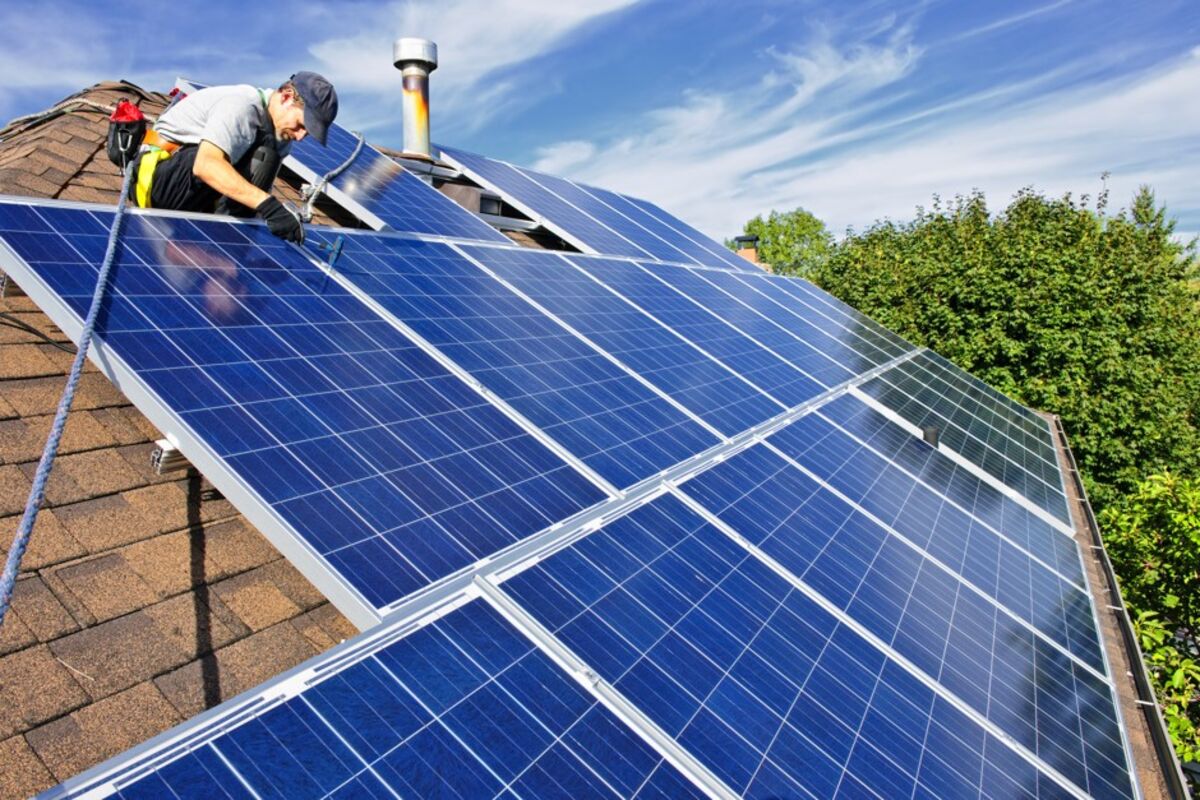
After preparing the rooftop, the next thing is to mount the PVs. Professionals use rail system attached to the rooftop using special brackets. Then they attach PVs to the rail system using mounting brackets.
Step 6: Installing the Inverter and Electrical System
After the mounting the PVs, installing the inverter and electrical system is next. The inverter converts the energy generated by the PVs into electricity for your home or business. The electrical system includes the wiring, panels, and other components required to connect the Photovoltaic plates to your electrical system.
Step 7: Commissioning the System
After installing the PVs, inverter, and electrical system, the next thing is commissioning the system. This involves testing the system to ensure it is working correctly and making necessary adjustments.
Step 8: Monitoring and Maintenance
After ordering the system, it’s important to monitor it and also perform regular maintenance. This includes cleaning the Photovoltaic plates, checking the electrical system, and ensuring that the system is functioning correctly.
Conclusion
Installing solar panel roof is an ideal way to save on energy bills and also contribute to the environment. The process of installing Photovoltaic plates involves assessing your roof, obtaining the necessary permits and approvals, hiring a professional PV installer, preparing the roof, mounting the Photovoltaic plates, installing the inverter and also electrical system, commissioning the system, and also monitoring and maintaining the system. With the right planning and preparation, you can ensure proper solar roof installation that works optimally to provide clean, renewable energy.


